
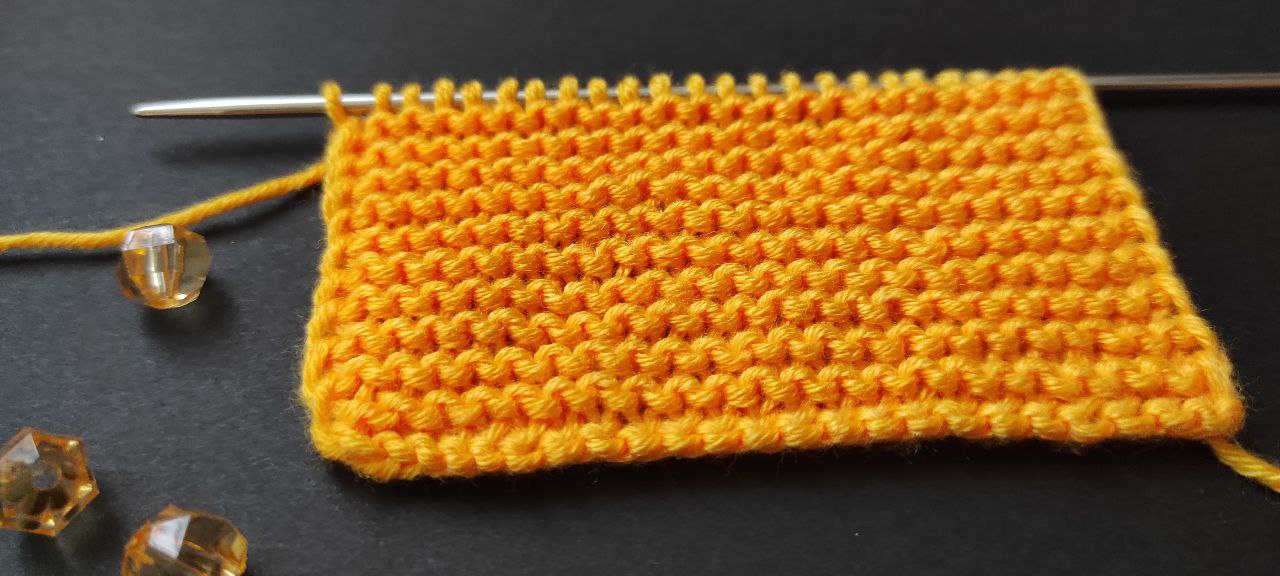
This simple knitting tutorial will help you to learn how to knit a Garden Stitch.
At My Knitting Pattern you can find easy to understand training on how to crochet this pattern, techniques used, necessary yarn and hooks and video guide for this crochet pattern.
You can download printable instruction for this pattern in PDF format for free at the end of the lesson.
We even made a research to find the best deals of high quality yarn, hooks and other important materials and accessories on Amazon or Etsy. So you can start crocheting in no time.
Posts in this website contain affiliate links. If you purchase a product through an affiliate link, your cost will be the same but My Knitting Pattern will receive a small commision. Please read my full disclosure policy for details.
Your support is very important for us and it helps keep website going! Thank you.
What is garter stitch?
In this tutorial, you can find any type of garden stitch you would need:
- garden stitch in rows
- garden stitch in rounds
Abbreviations in Knitting Patterns
In knitting patterns, you can see garter stitch abbreviated as
- g-st
- g st
In the knit pattern may also say something like:
- “work in garter stitch”
- “knit every row”
What do you need to knitting this project?
- Knitting needles (Choose a knitting needle size that matches the yarn you’ve chosen):
- straight knitting needle – for knit in rows
- double-pointed needles or circular needles – for knit in rounds
- Yarn (I recomended that beginners start with a worsted or bulky weight yarn)
- Scissors
- Stitch/place markers
- Tapestry needle
Buy on Amazon
Stitch tutorial and abbreviations used in this knitting project
- slip knot
- cast on
- K – Knit stitch
- P – Purl stitch
- cast off
- weawe-in yarn ends
- * * = Repeat pattern between asterisks
If you still have questions regarding what those symbols mean or how to read them, please take a look at our epic guide of Knitting symbols and abbreviations.
Knitting Garter in the Row
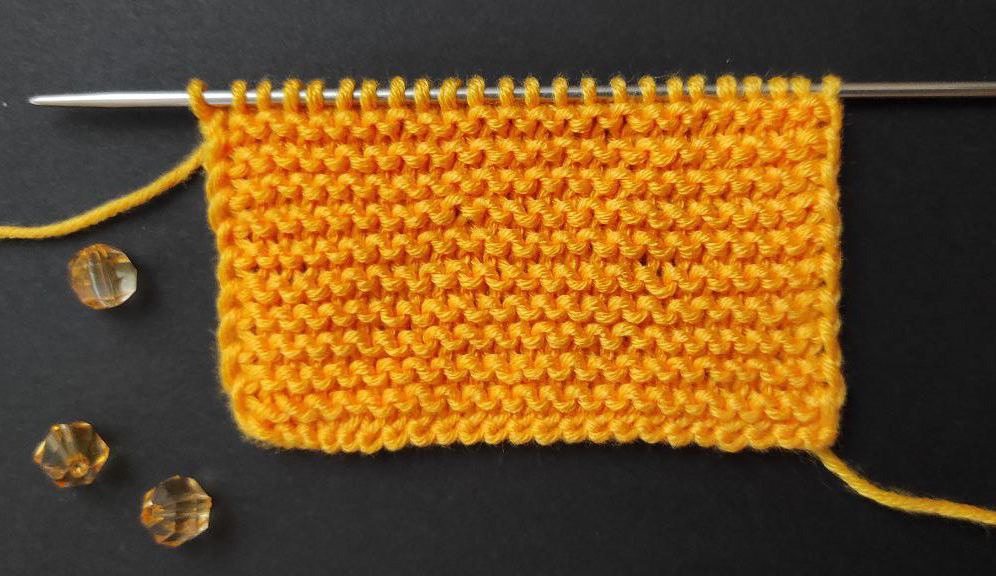
In this tutorial I will teach you how to knit garter on two straight needles, working back and forth in rows.
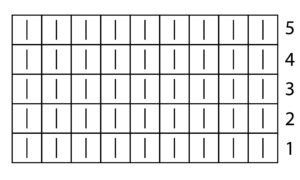
Knitting pattern
How to Knit Garter Stitch in the Row
Cast on any number of stitches
Row 1: knit all stitches
Repeat Rows: Knit all rows until your work is the length you desire, then cast off your stitches and weave in your ends.
Knitting Garter in the Round
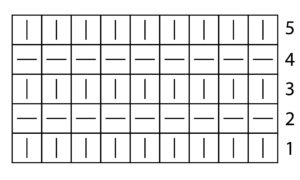
When knitting the garter stitch in the round, you have to alternate between knit and purl rows.
Knitting pattern
How to Knit Garter Stitch in the Round
In this tutorial I will teach you how to knit garter on double-pointed needles or circular needles, working in rounds.
- Cast on any number of stitches and join in the round, making sure not to twist stitches
- Round 1: knit all stitches
- Round 2: purl all stitches
- Repeat Rounds 1-2 until knitting is the length you like, then cast off your stitches and weave in your ends.
How to weawe in ends for garden stitch
There are many ways to hide the ends. For garter stitch, I believe the most invisible way is by going through the legs of the knit stitches between to ridges:
- thread my end on a tapestry needle
- then I spear right through the knit stitches (about 6-8 stitches)
- if you are working with a slippery yarn, I usually go one more time in the other direction
How to knit stripes in garden stitch
Changing colors in garter stitch is pretty simple if you stick to one golden rule: jnly start a new stripe on the right side.
So for example a repeat:
- Row 1-6: knit in color a
- Row 7-12: knit in color b
- Row 13-18: knit in color a
The only problem is that the fabric stops being reversible.
Also, remember to cross the yarn every two rows, so you don’t end up with big floats on the right side.
Don’t forget to pin this post to your Pinterest board to keep it.
If you like this pattern and want to see more of them subscribe to our cozy Pinterest page. This way you don’t miss a single new pattern.
If you have any questions regarding how to crochet, how to use hooks or how to open a pdf scheme and how to read it – ask them in the comments or send me a quote via contact form. I’ll do my best to help you out.
My articles are meant to inspire and teach you how to create handmade crochet pieces. Please feel free to sell any of the finished items on this site, just make sure to give mycrochetpattern.com credit for any patterns you use.
Never sell, copy, publish or claim any of the patterns that you find on this website.